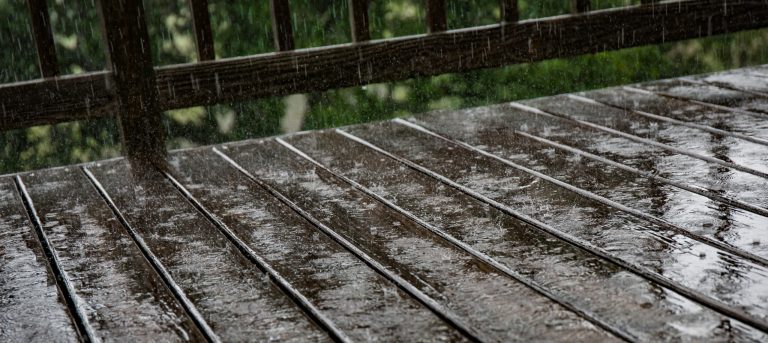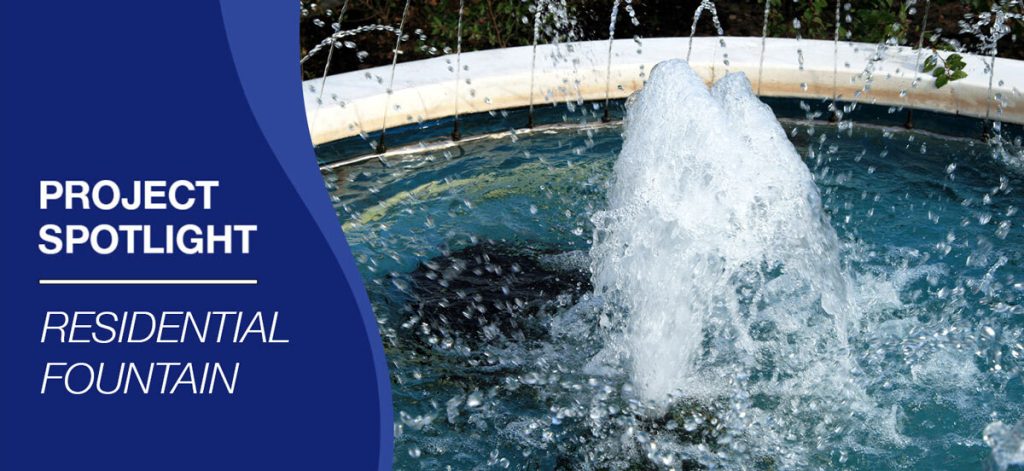
Recently we took on an amazing project where we waterproofed a fountain attached to a multi-million dollar home. The fountain was placed on the side of the house, and therefore our waterproofing expertise was needed. It can be very tricky to waterproof a fountain for obvious reasons, it is a cement basin, that holds water, and cannot have any water leak. One water leak in a fountain can ruin the entire integrity of the structure. What could be worse is that if the fountain is attached to your home, a leak could cause your house to flood, and then the collateral water damage would be insurmountable.


Here we outline for you our process on how we waterproofed and constructed the fountain so that it was in tip-top shape for our client.
Due to the fact that the fountain has already been leaking we first removed the existing coating. Then we applied two coats of our Vapor Shield product that will keep any moisture in the substrate from coming up and messing with our membrane. It will block up to 20 PSI and also densify the substrate. We then applied Sika 429 primer and then one hour later Sika 1A around all penetrations and cold joints. We flattened the Sika 1A and then we broadcast silica on the Sika 1A while it was still wet.
Then it was time for the WICR system, which is as follows:
Preparation
- Remove existing fluid applied membranes.
- Clean and prepare existing concrete substrates as needed.
 .
. 
Waterproofing

- Apply Multicoat Vapor Shield primer (2 coats)
- Detail all penetrations and cold joints with Sika 429 primer and Sika 1A with sand broadcast.
- Apply Multicoat Scratch Kote
- Detail all 90 degree transitions with Multicoat Mulasticoat and Stitchbond fabric.
- Apply Multicoat Mulasticoat (2 coats) with sand broadcast in the final coat.
- Apply Multicoat Pond Kote (2 coats) in Gray or White for areas that will remain exposed.
- Apply Multicoat Scratch Kote (2 coats) for areas which will receive tile or stone.
- *NOTE: Multicoat system will be applied on top of the new concrete bowl and CMU wall.
- *NOTE: Colored sealers, in lieu of Grey or White cement finish, are available for exposed areas if desired (additional cost).
When looking to waterproof anything inside or outside your home it is key to hire professionals to do so because while DIY is great for crafts, this risk is too high when it comes to a water leak. That’s you can call us, WICR Inc, for all your waterproofing needs. We’ll make sure that whatever project you have is handled with care and with the highest quality in mind.