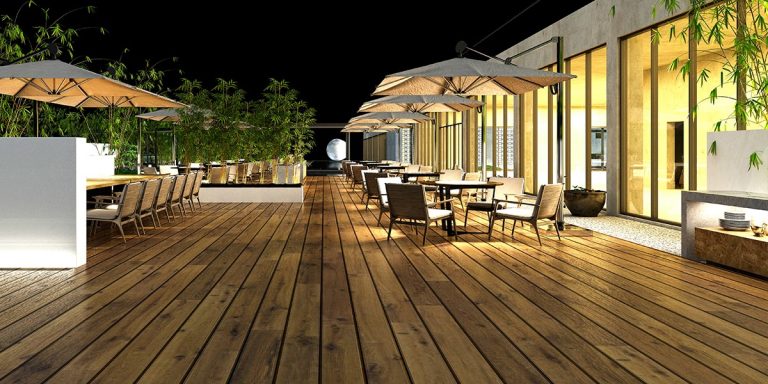
There is a reason for everything, including the splits and cracks on your weathered deck. That is why it is important to have preparation because decking is not meant to last. At some point, it needs to be revitalized to keep it looking new and to endure the test of time.
Here are some of the important points that you need to mimic when you consider deck repair.
Fasteners and Supports
When you are going to fix your deck, make sure that you do it from the ground up. Among the things that you have to check are the supporting beams. So when the posts or feet are sinking into the ground, it is best to replace them using concrete deck supports.
At this point, you need to use a high-lift jack so that you can support the deck while you dig under the feet. Do it as far enough that you can put it on the support beam’s end. You may have to use the jack in front where the horizontal supports are sagging so that you can level them.
You can also overlay the beam in front with a similar beam using some screws. If you need more vertical beams below the deck, you can add some in order to gain better support. Do not forget to check all brackets, fasteners, and screws around and below the deck.
Splits and Cracks
Naturally, decks get cracks in the long run. Good thing is that you can fix it by first unscrewing the cracked boards, and if the board is only cosmetically damaged, you could get away with turning it upside down (or just going ahead and replacing). You may notice that the bottom side of the board is still looking good. Otherwise, you have to inject some flexible polyurethane caulk into the cracks.
Just try to avoid using wood putty as it will crack in as early as a few weeks or months. Since deck boards are known to contract and expand, utilizing a waterproof resin glue in the cracks or splits should be done instead.
You have to use some clamps across the cracks and splits you just glued together and tighten them until the glue will ooze out or when the crack is finally closed. Just leave it overnight before removing the clamps on the boards.
Surface Preparation
Sand the deck boards with a belt sander having an 80-grit sanding belt. Take note that weathered boards contain some gray tint, which may also have a rough texture that will absorb moisture. Thus, you have to sand parallel with each board to remove the gray color and reveal the amber color of the natural wood.
You may also sand across previously caulked areas, but you have to replace the caulking when part of it gets sanded off. Then, you have to use a 100-grit belt when you consider sanding the deck again.
Seal
Do not forget to use a deck sealer when considering deck repair because it will hold up into the wood and harden, unlike paint. Use a paint sprayer with some deck sealer and spray liberally on your deck, as you saturate it with a wet coat. Try to spray by making sure it penetrates between the boards and into the cracks.
WICR Waterproofing & Decking is Southern California’s premier waterproofing and decking specialist covering Los Angeles, Orange County, San Diego, Riverside, and San Bernardino counties. We are trained by all the major manufacturers of waterproofing systems so that we can install or repair any waterproofing project. Please visit us at www.WICRWaterproofing.com