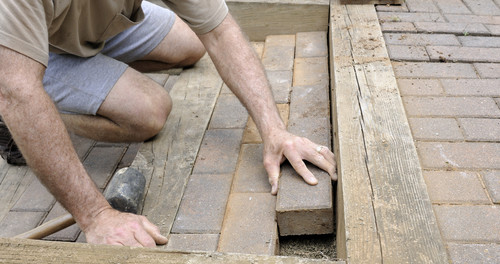
Repairing and Resurfacing Walkways the Right Way

It is common for homeowners to understand the significance of having a polished and neat exterior. In fact, even business owners prioritize this task as it reflects the nature of their business. At the same time, it is a must to keep your lawn and house well-maintained as it will save precious time and money in case of repairs in the future.
Moreover, it is not safe to pass on cracked, dented, and worn down walkways for an extended period of time. This is because such surfaces are prone to exposure to moisture from oil, rain, or snow, causing walkways to break down and fade.
If you are looking forward to apply some walkway makeovers to your living spaces, then you have come to the right place. Basically, it is important to understand the process of concrete resurfacing. Here are some steps that can help you with your new project at home.
Clean the Concrete First
You can do this task by gearing yourself up before doing it. Thus, you have to consider using heavy boots and protective glasses so that you can blast the dirt with a pressure washer that can reach up to 3,500psi. You might also need some concrete wash if you want to remove algae or mildew.
Patch the Spalled Areas
You are going to use enough resurfacer to fill the divots when the concrete is damp. In this case, you need to mix 1 part water with 7 parts of resurfacer all within the 5-gallon bucket. Blend them using a paddle mixer that is attached to the drill. You can now fill the recesses with the resurfacer. Smooth it with a finish trowel. Allow the patch to stand for about 2-5 hours.
Spread the Resurfacer
By this time, you need to fill the walkway joints using a peel-and-stick foam weather stripping. If necessary, you have to dampen the concrete. For about 20 minutes, you can have the resurfacer to work. Then, mix half a bag of the powder with five-and-a-half cups of water. This will be enough to cover a couple sidewalk slabs, which is about 17sq.ft. Then, pour it on the walkway.
Use the Trowel to Spread the Resurfacer
The resurfacer must be spread using a trowel until it has reached 1/8” to 1/4” thick. You can also wait for about 5 minutes if you want to have a slip-resistant finish. You can now sweep the surface with a broom made with nylon bristles across the finish. Then, after 20 minutes, you can take out the weather-stripping. When there is threat of rain, you can cover it to protect the platform.
It is always important to remember that repairing and resurfacing the walkways can be a bit challenging if you are not into the job. However, you can always ask the assistance of professionals, like those from WICR Waterproofing and Decking, to have it done properly. Take note that this may cost you a bit of your budget, but it surely can bring out the best in your old walkways.
WICR Waterproofing & Decking is Southern California’s premiere waterproofing and decking specialist covering Los Angeles, Orange County, San Diego, Riverside, and San Bernardino counties. We are trained by all the major manufacturers of waterproofing systems, so that we can install or repair any waterproofing project. Please visit us at www.WICRWaterproofing.com
