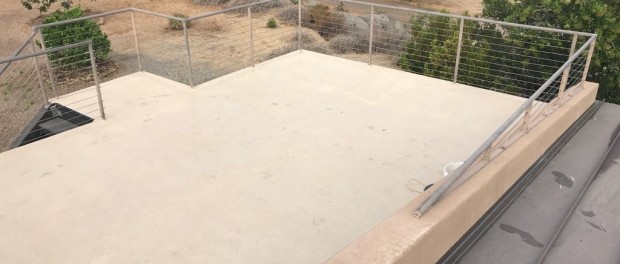
How to Find the Source of a Leak in a Deck

The first step in repairing a leak is finding the source, but this can also often be the most frustrating part of the process.
Leaks can come in from many places and be caused by a faulty deck waterproofing system, or even just incorrect installation. Whatever the cause, it’s essential to fix it quickly to keep your deck from becoming damaged. Here are the steps in testing for a leak, to help make the process a little less stressful.
Perform a Visual Inspection
The first step in identifying a leak is to look carefully at every element. This may seem obvious, but thoroughly inspecting the deck before performing any tests can eliminate lengthy and potentially unnecessary procedures. Make sure to take note of how often the leaks are occurring, when they occur, how much water is leaking, and any other helpful information that can help point you to the source of the leak. Even if you don’t see any clear deficiencies in the waterproofing systems, this helps create an educated guess as to where the leaks are occurring, which will lead to a better testing plan.
Isolate Each Component
When testing a deck, it’s essential to isolate every possible source of the leak. By testing each element on its own, you’ll be able to identify the leak more clearly and quickly. For example, you may start with the floor by flooding the deck with water and plugging the drains. If a leak does not occur, move on to testing the drain lines, then move out to the perimeter of the deck, testing the siding, stucco, or door frames – and continue until the source is found. In order to properly test the deck and prevent further damage, it’s always best to remove any interior finishes.
Start with the Lowest Elevation
The best way to determine the source of a leak is through a process of elimination. To do this effectively, begin with the lowest component of the deck. For example, if you are testing a balcony, begin with the floor. Once you have ruled out the lowest elevation, move up to the next level. Water will always drain downwards, soaking everything in its way. This not only causes damage but also doesn’t allow you to find the leak’s source. Starting from below will give you a much more accurate idea of the location of the leak, and will prevent any further water damage.
Determine How Long to Water Test
Perhaps the most difficult part of water testing is determining how long the test should last in order to be the most efficient and safe. If the leak is located over a living space, there should always be at least two people present to conduct the test as well as observe below for active leaking. However, if the leak is located somewhere that does not cause damage such as a raised planter on a rooftop, the test could be left unattended for several hours or even a full day.
Let’s face it, nobody wants to deal with the hassle and expense of a leaky deck. That’s why so many people trust the waterproofing experts at WICR. They’ll not only find the source of your leak quickly and efficiently, but they’ll also install a solution that will save you time, money and stress, in the long run.
